Hello gardeners, I hope your pumpkins are starting to grow. In this post I would like to introduce you to the hedgehog house.
This year my school had a visit from Harper Asprey Wildlife Rescue, they came to tell us about all their work with Hedgehogs.
Here are 5 interesting facts you might like about hedgehogs.
- Hedgehogs can flatten themselves to get through a 3 inch gap sometimes 2!
2. Some hedgehogs are good swimmers! But they need to be able to climb up something to get out of the water.
3. Hedgehogs think bugs and slugs are yummy.
4. A baby hedgehog is called a “Hoglet”.
5. A hedgehog can grow from 90 grams up to 1160 grams
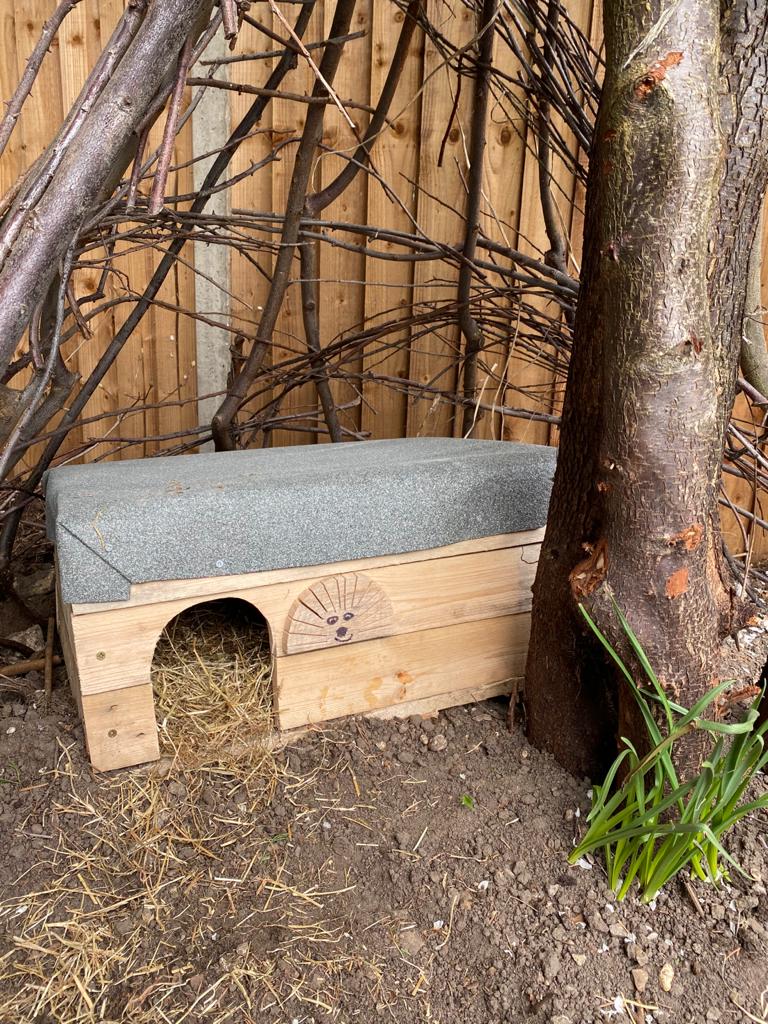
The Pallet Hedgehog House
We made the Hedgehog House from a pallet by sawing up small planks. Here are the steps we took:
1: Sketched the plan
To make sure we used as much of the pallet as we could, I started by creating a design of the Hedgehog House. I thought of a donut shape, a semi circle and a house with two floors, but in the end we made a rectangle shaped house with one floor. It’s very important to have a design to follow, make sure you take the time to draw your hedgehog house.
2: Measure and Cut the Pallet
Now we have the design we can start to measure and mark out the parts of the pallet we want to cut and use. This step requires and adult as you will need a saw, I asked my Daddy to help.
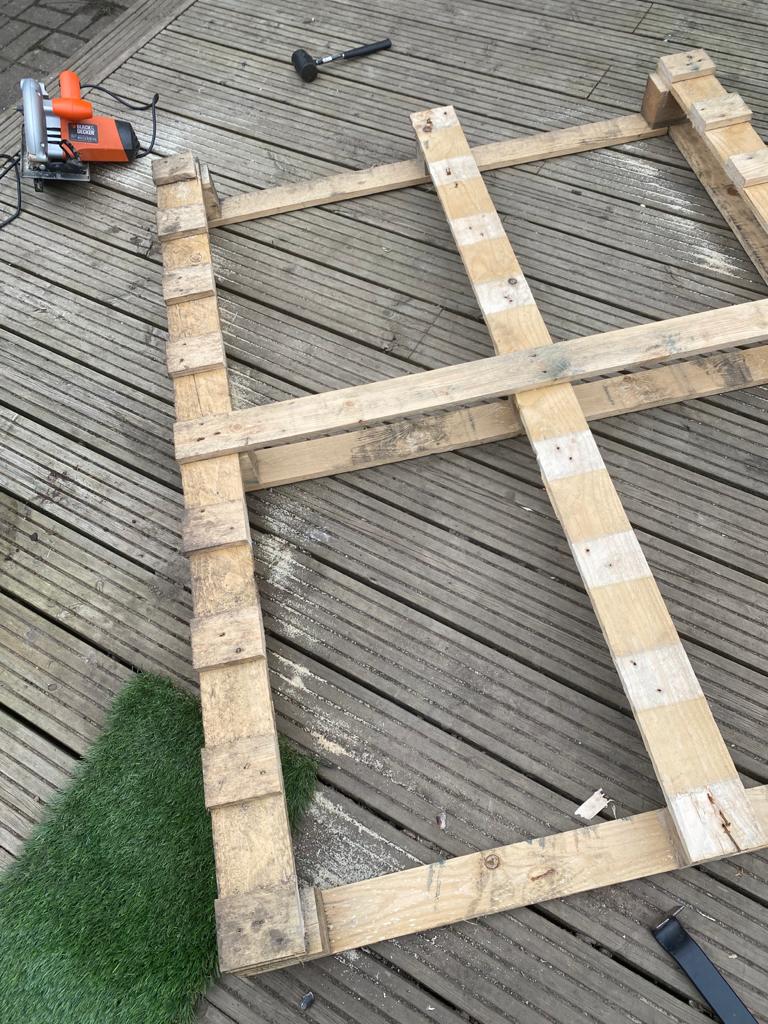
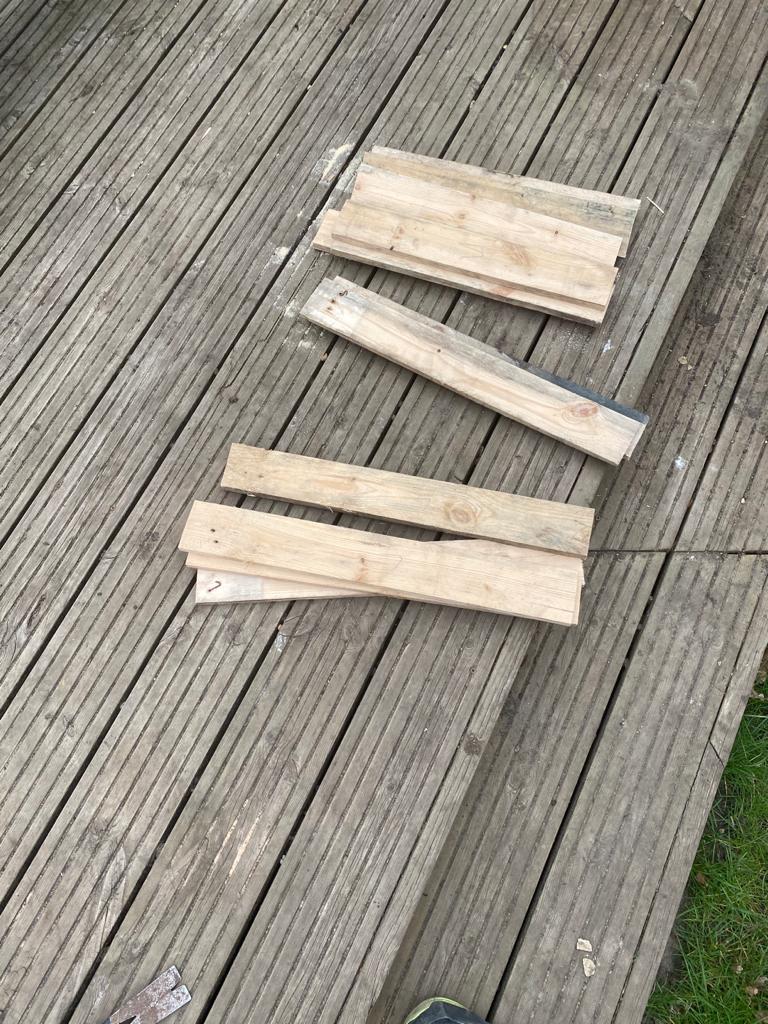
3: Screw it together
We put all the cut pieces of wood in piles, based on size. We had a pile for the walls, floor and roof – we wrote on the pieces of wood to label which were which.
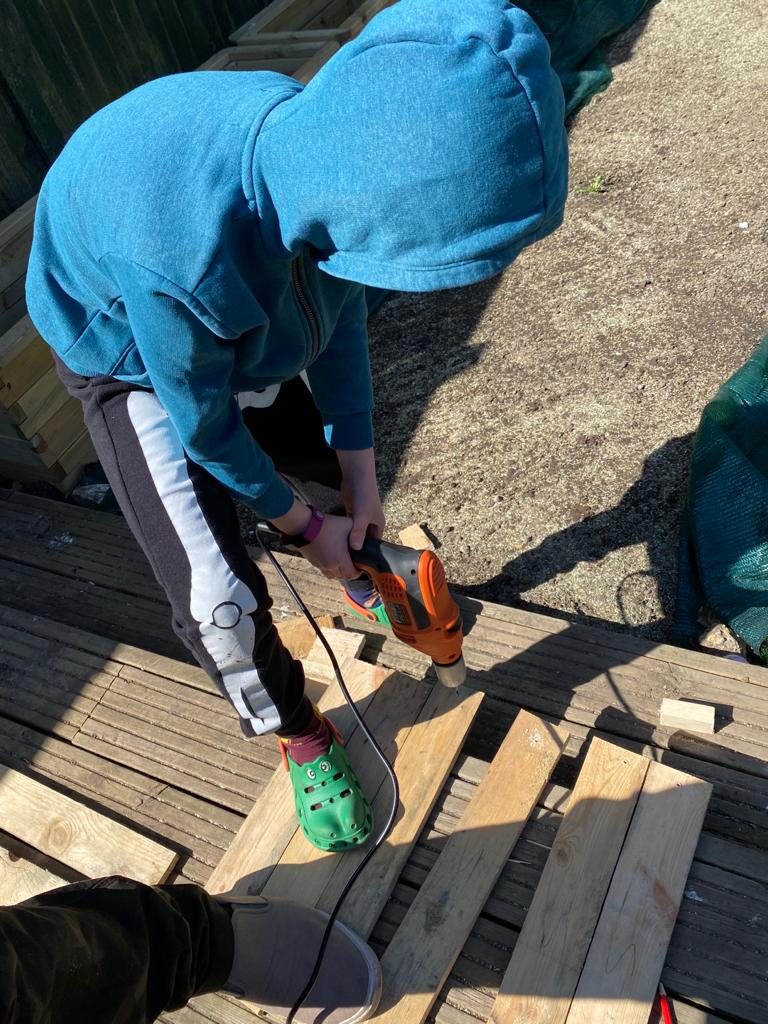
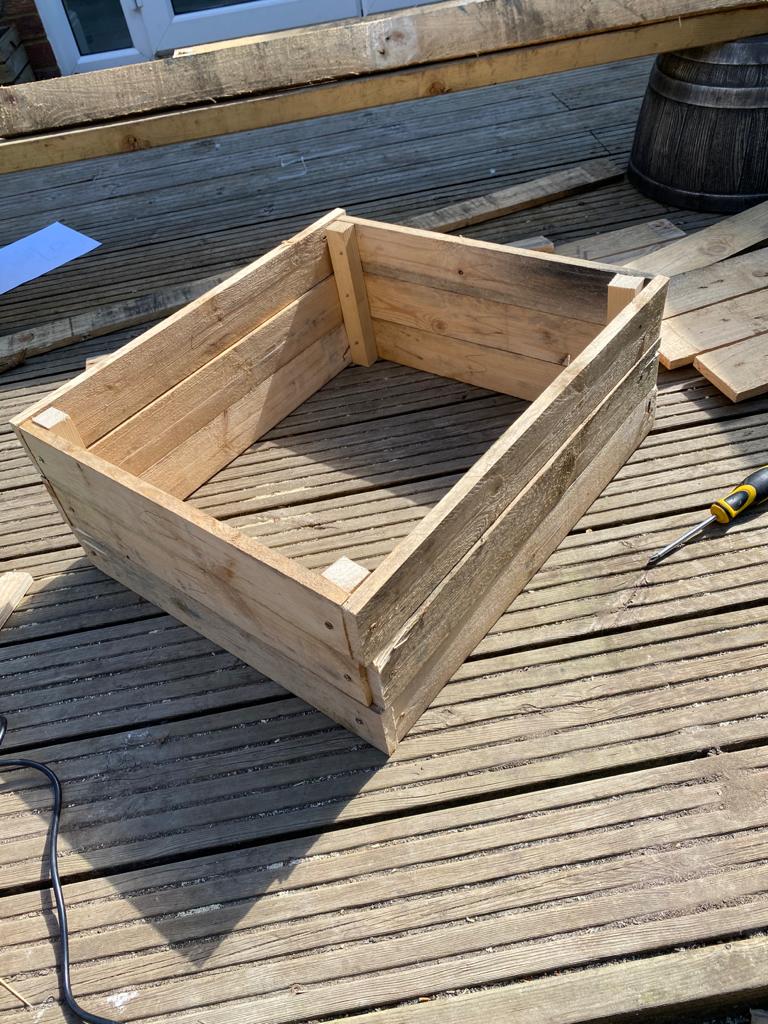
To make it easier to screw the planks together, we drilled holes in each end of the planks of wood. We then started putting the walls together, so we created a right angle with a front and side plank and then put a support on the inside that we could screw into. Our walls were three planks high, so we made sure we cut the supports to fit that height.
Once all the walls were screwed together, we had a shape similar to a square / rectangle.
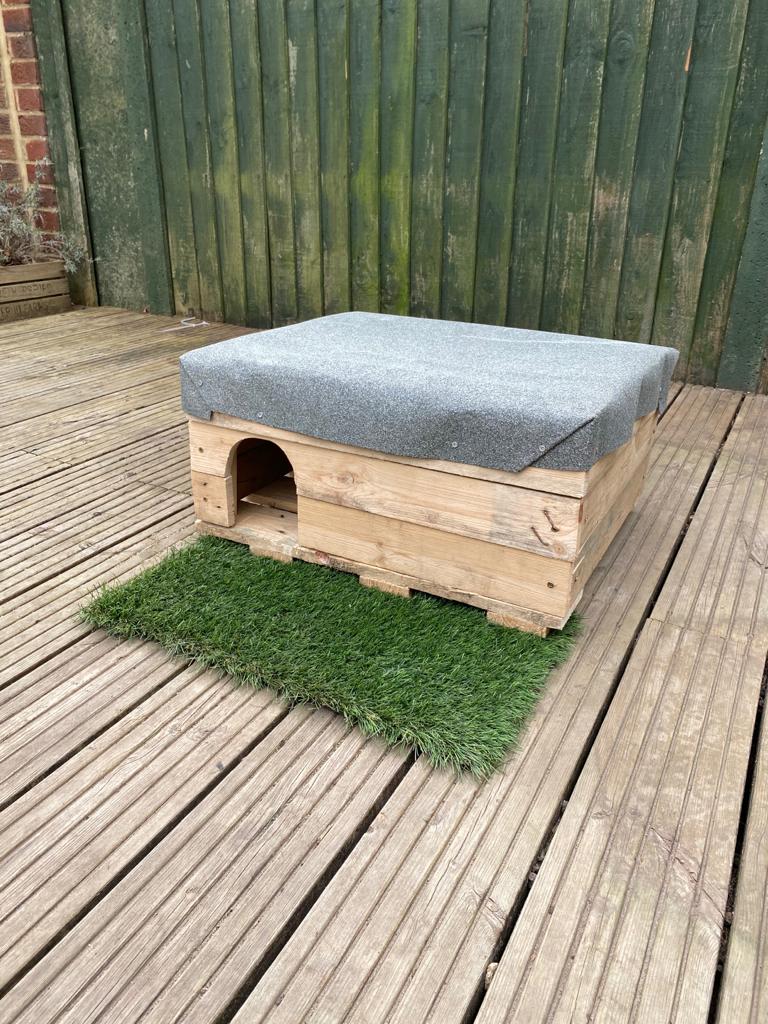
4: Adding the floor and roof
To strengthen the house we now attached the floor, our floor had small wooden wedges underneath, little bit like feet! This was to let air and bugs creep into the house for the Hedgehogs. You will have lots of off cuts from the pallet to create these wedged feet.
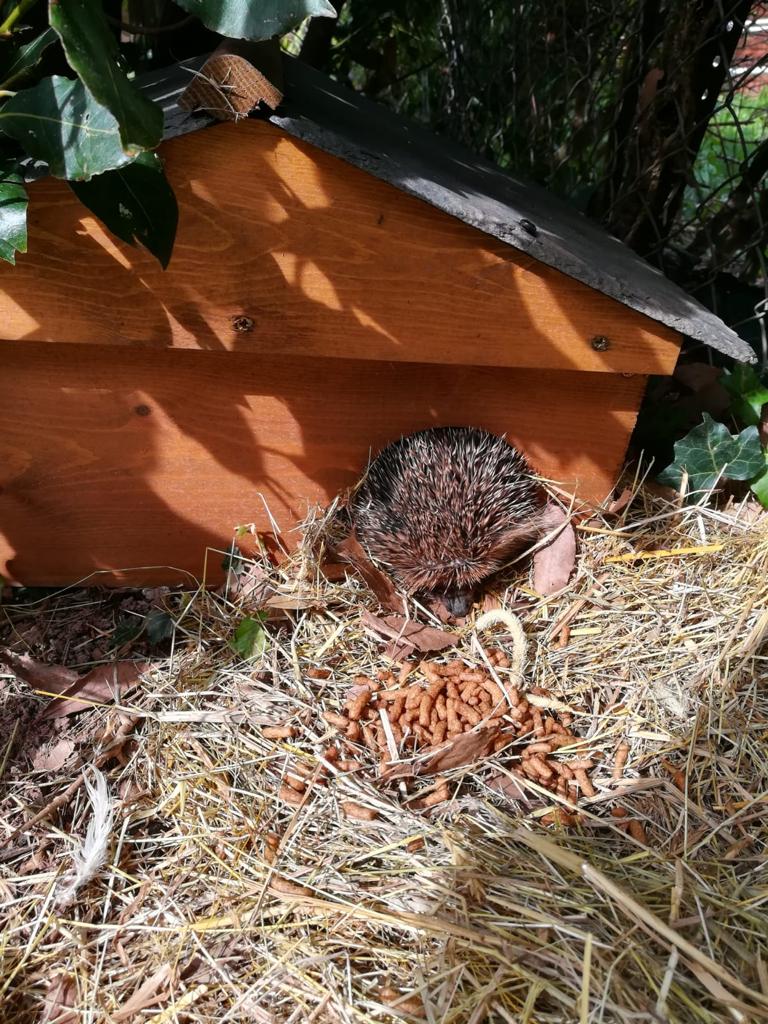
To keep it warm and dry we covered the wooden roof with some roofing felt, so the Hedgehogs can stay warm and dry in the cold, wet weather. This was really easy to cut and we attached it with very small screws.
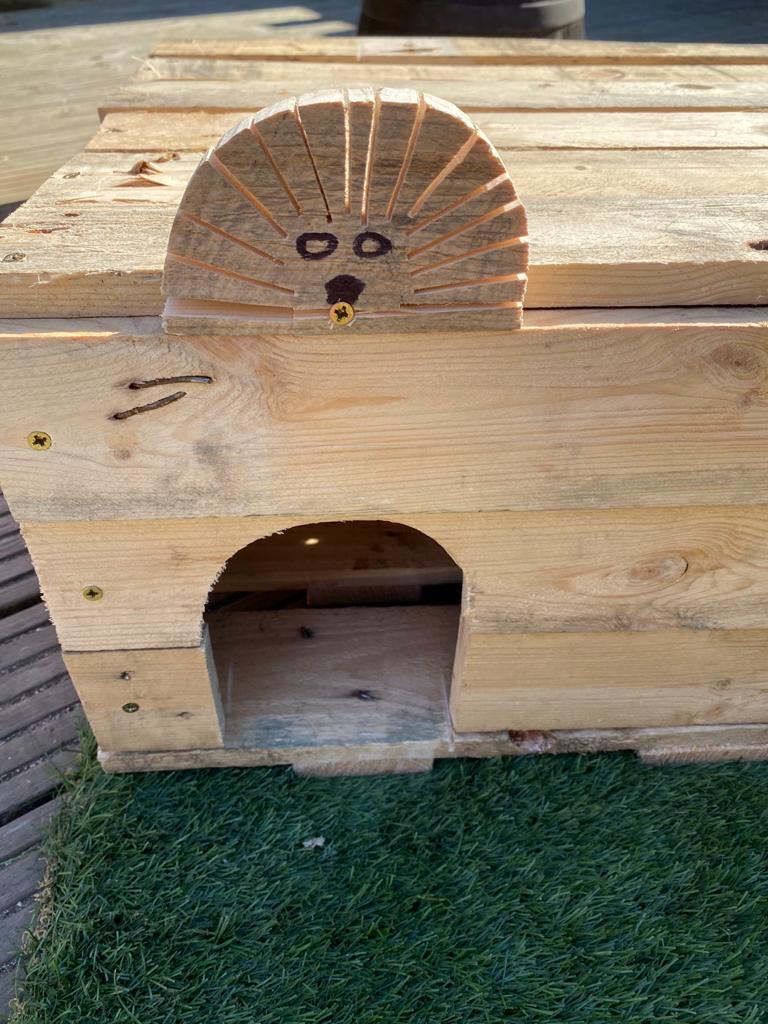
5: Cut the doorway
We then cut a nice big doorway for the hedgehogs to get into their new home. We first drew it on and then I asked my Daddy to cut it out for me. We also made a friendly looking hedgehog sign from the left over pallet and glued that to the front of the house.
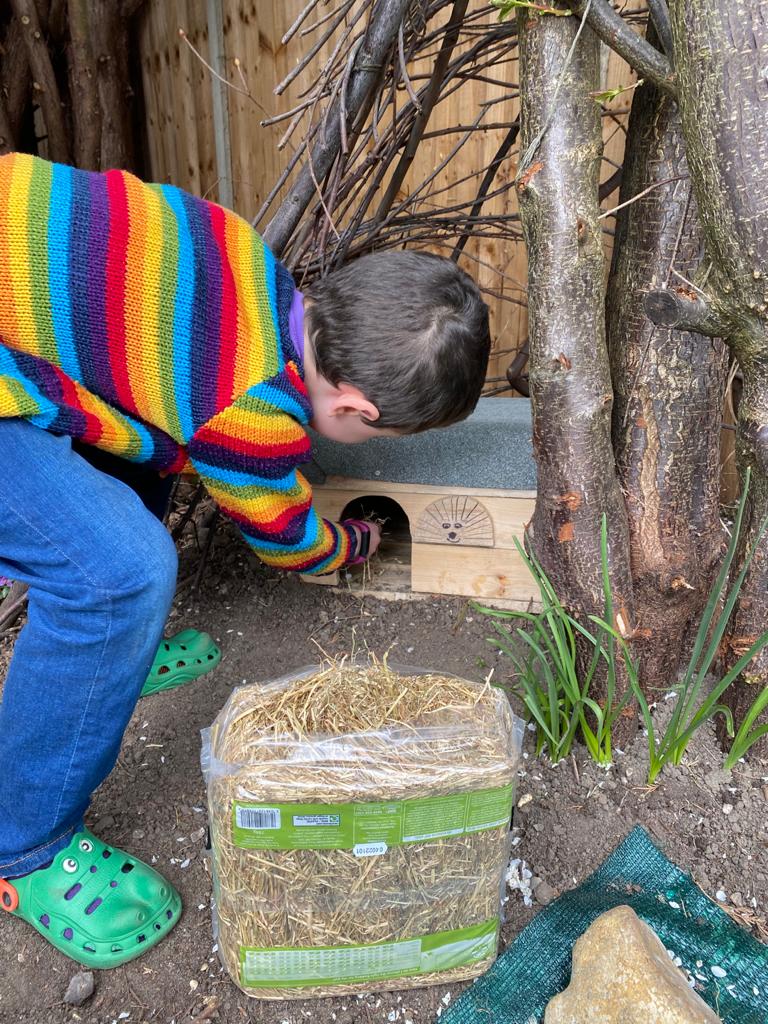
6: Put some straw
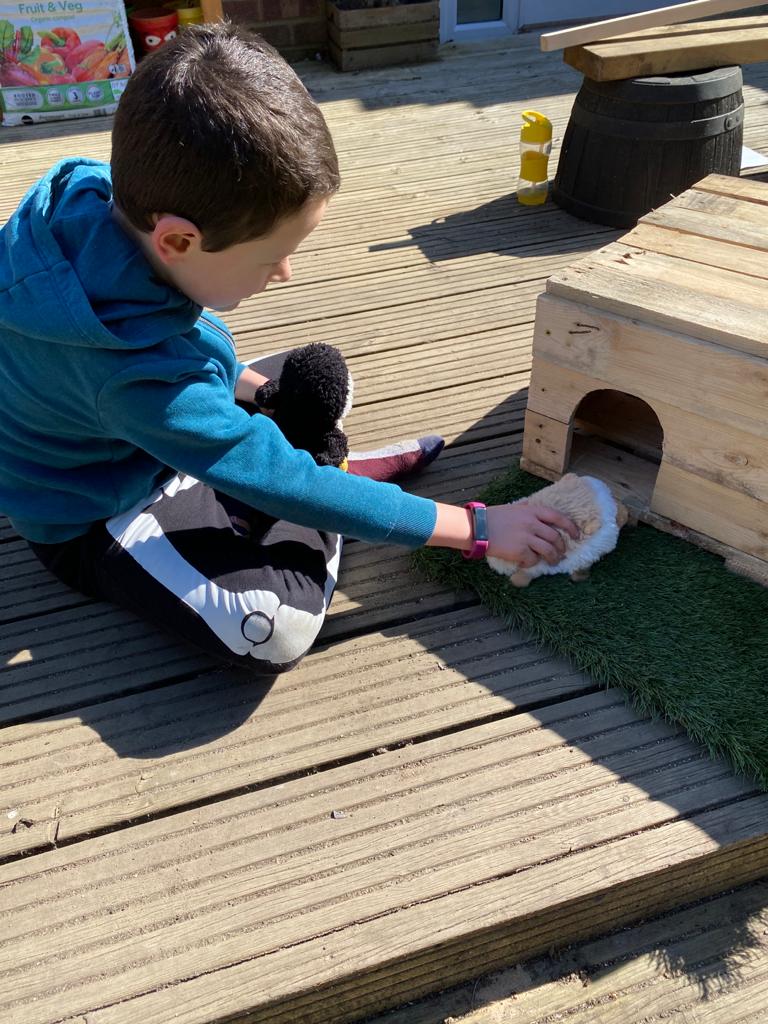
Finally, we put some straw into the house, so that they’re nice and comfy when they hibernate in the winter.
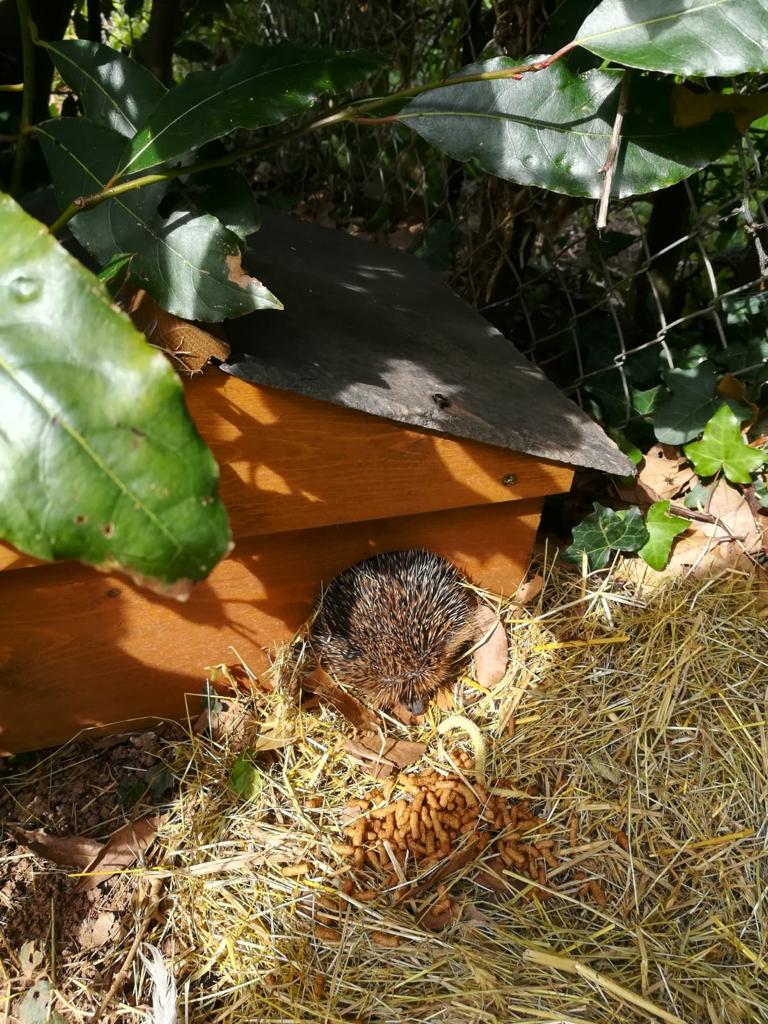
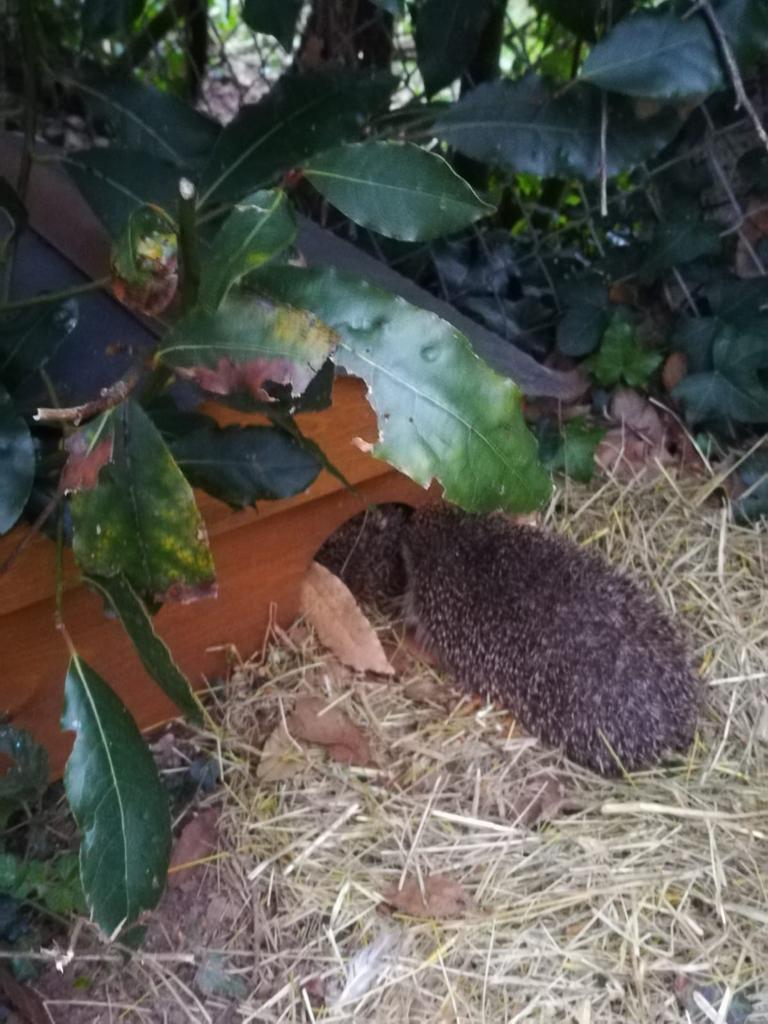
The hedgehogs haven’t moved in to their new home yet, but we do think we have some living in the garden somewhere.
Last year I bought my Nannie a hedgehog house for her garden, she now has a whole family of Hedgehogs and Hoglets living in her garden.
Please share this post with your friends and family as it’s very important to look after the wildlife in your garden. Also, if you have time, send in photos of your Pallet Hedgehog Houses.